| Home | ||||||||||||
| Microsoft Office PowerPoint 2007 Tutorial | ||||||||||||
| ||||||||||||
| VBA / Excel / Access / Word | ||||||||||||
| Microsoft Office Excel 2007 Tutorial | ||||||||||||
| Microsoft Office Word 2007 Tutorial |
| Microsoft Office PowerPoint 2007 Tutorial » WordArt Picture Clip Art Shape » Shape |
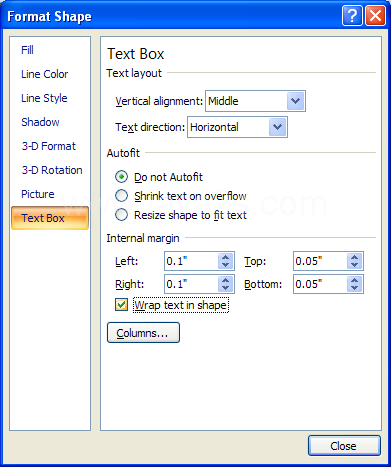
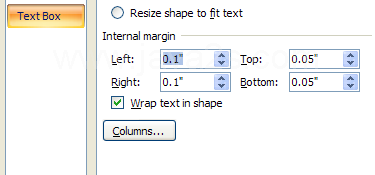
| 5.9.11.Wrap and Adjust Text Margins | |
| |
 | |
| |
 | |
| |
 |
| 5.9.Shape | ||||
| 5.9.1. | Draw a Shape | |||
| 5.9.2. | Delete a shape | |||
| 5.9.3. | Draw a perfect circle or square | |||
| 5.9.4. | Resize a Shape | |||
| 5.9.5. | Resize the object with precise measurements | |||
| 5.9.6. | Adjust a Shape | |||
| 5.9.7. | Replace a shape | |||
| 5.9.8. | Insert Multiple Shapes | |||
| 5.9.9. | Add Text to a Shape | |||
| 5.9.10. | Add a Bulleted or Numbered List to a Shape | |||
| 5.9.11. | Wrap and Adjust Text Margins | |||
| 5.9.12. | To draw a connector | |||
| 5.9.13. | Customize the Way You Create Shape Objects | |||